March 6, 2017
The cover is officially COMPLETE!! I ended up taking photos of my friend Ashley who is exactly what I was looking for: beachy vibes, blond-ish hair, and in my eyes, really pretty. I went over to her house yesterday and took lots of photos of her. I wasn't able to go over at the “golden hour,” so we had to make do with what we had. Luckily, I still was able to borrow the yearbook camera (Canon 70D) which has the best settings and amazing lighting features. I researched which setting the camera should be on to achieve the best quality with the brightest and whitest photos. I found out by reading the article and trial and error that the setting “M” is most helpful and ends up looking the prettiest. I started by using the “TV” setting, which I heard would highly brighten a photo, however, it was way too bright and I could barely see my subject.
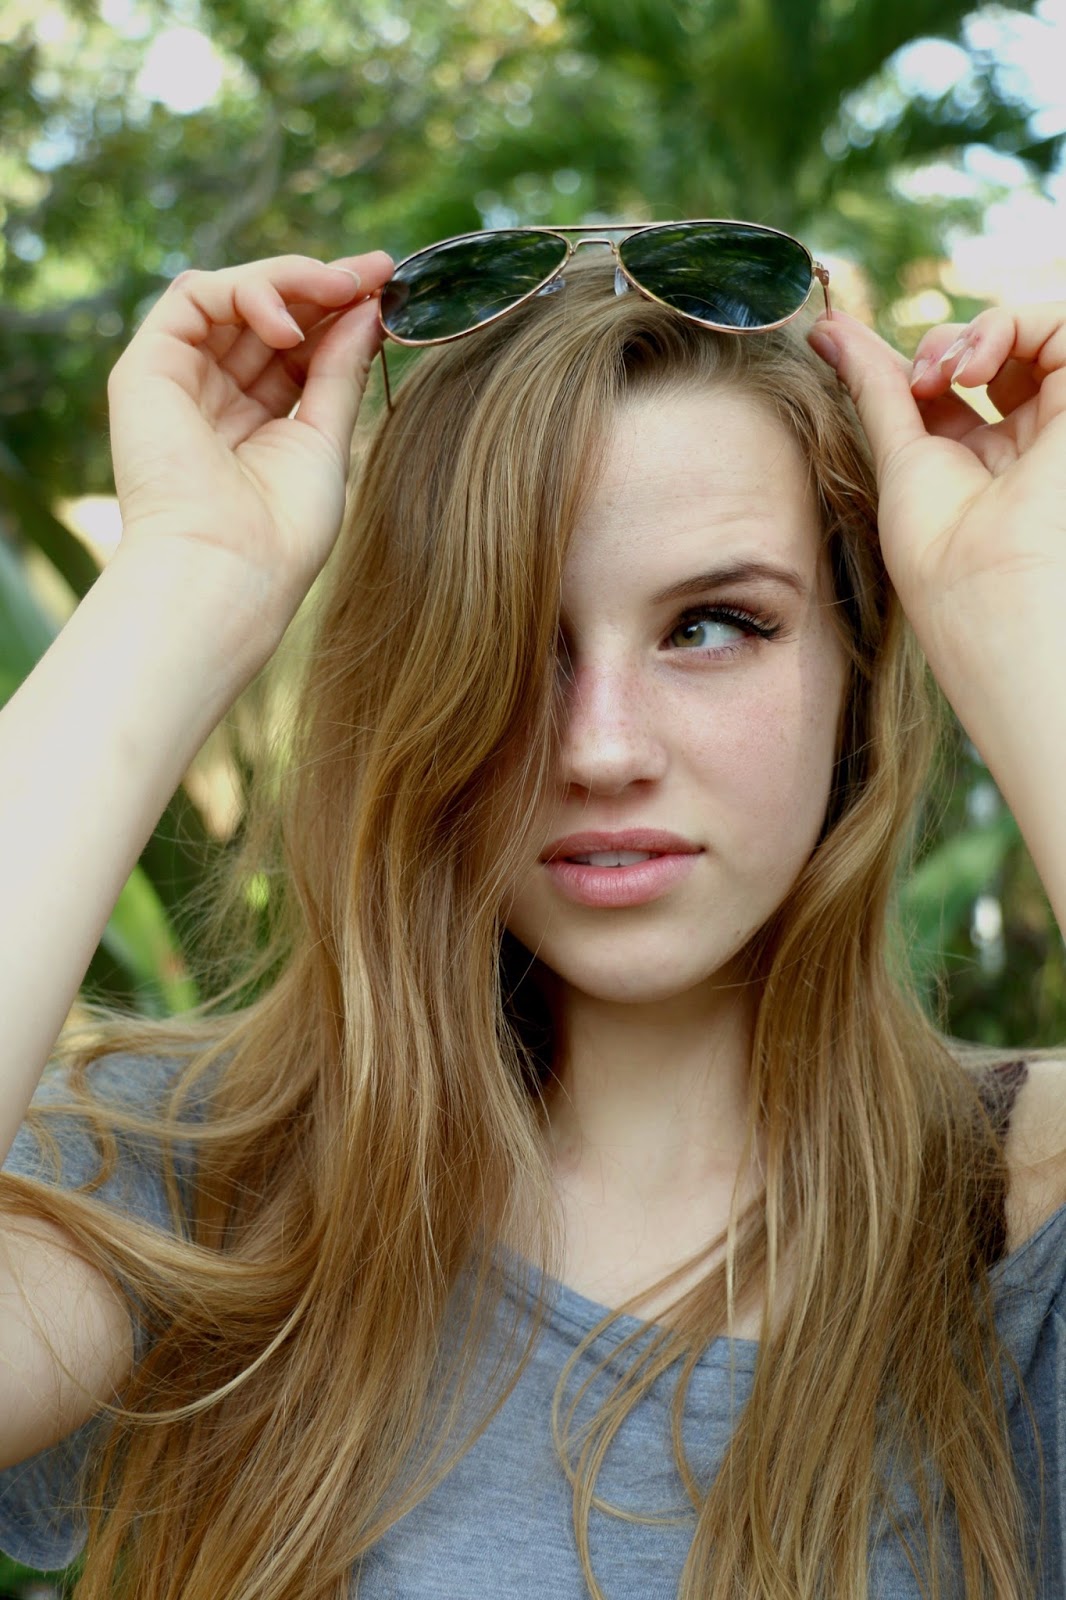
During the photoshoot, so many obstacles happened that hindered my abilities to take great pictures. One thing was the crazy sun shining on half of her face during the majority of the photos and the tree branches casting shadows everywhere. After 20 minutes of somehow being control of the sun, the pictures were pretty good.
After about an hour of photo taking with so many different poses, I uploaded them onto my computer and imported my top 10 onto PicMonkey. This website is perfect for editing photos, especially close ups. I did basic editing. I increased the brightness, and highly increased the sharpness so I would be able to see her freckles, adding that natural element in. Here are a few photos I took and how they looked before being edited.


I ended up choosing this one for the cover and really edited it on PicMonkey. Here is the edited version.

Adjusting it to the cover was pretty difficult. When I asked my peers for input on how they like it, they said they were getting a forest-y vibe, which was definitely not my intention. I took it upon myself to photoshop the green leaves out and replace it with the sky to hopefully gain that beach-y vibe. I think I achieved it. Here’s what it looks like.

-Sami <3
Some Citations:
"PicMonkey's Photo Editor | Free Online Image Editing." PicMonkey. N.p., 15 June 2016. Web. 04 Apr. 2017.
"How to Remove Unwanted Items from a Photo in Photoshop." PictureCorrect. N.p., 14 Oct. 2011. Web. 04 Apr. 2017
No comments:
Post a Comment